Q3D Quality3Ds Think It, Make It!
Reverse Engineering Repair

Toyota LS2-AD320-202 control panel housing repaired from a severely broken sample.

A client dropped off a badly broken Toyota LS2-AD320-202 sewing machine control panel housing. No existing printable model could be found, so Quality3Ds reverse engineered the enclosure and refined it through three quick CAD and print iterations.
The problem

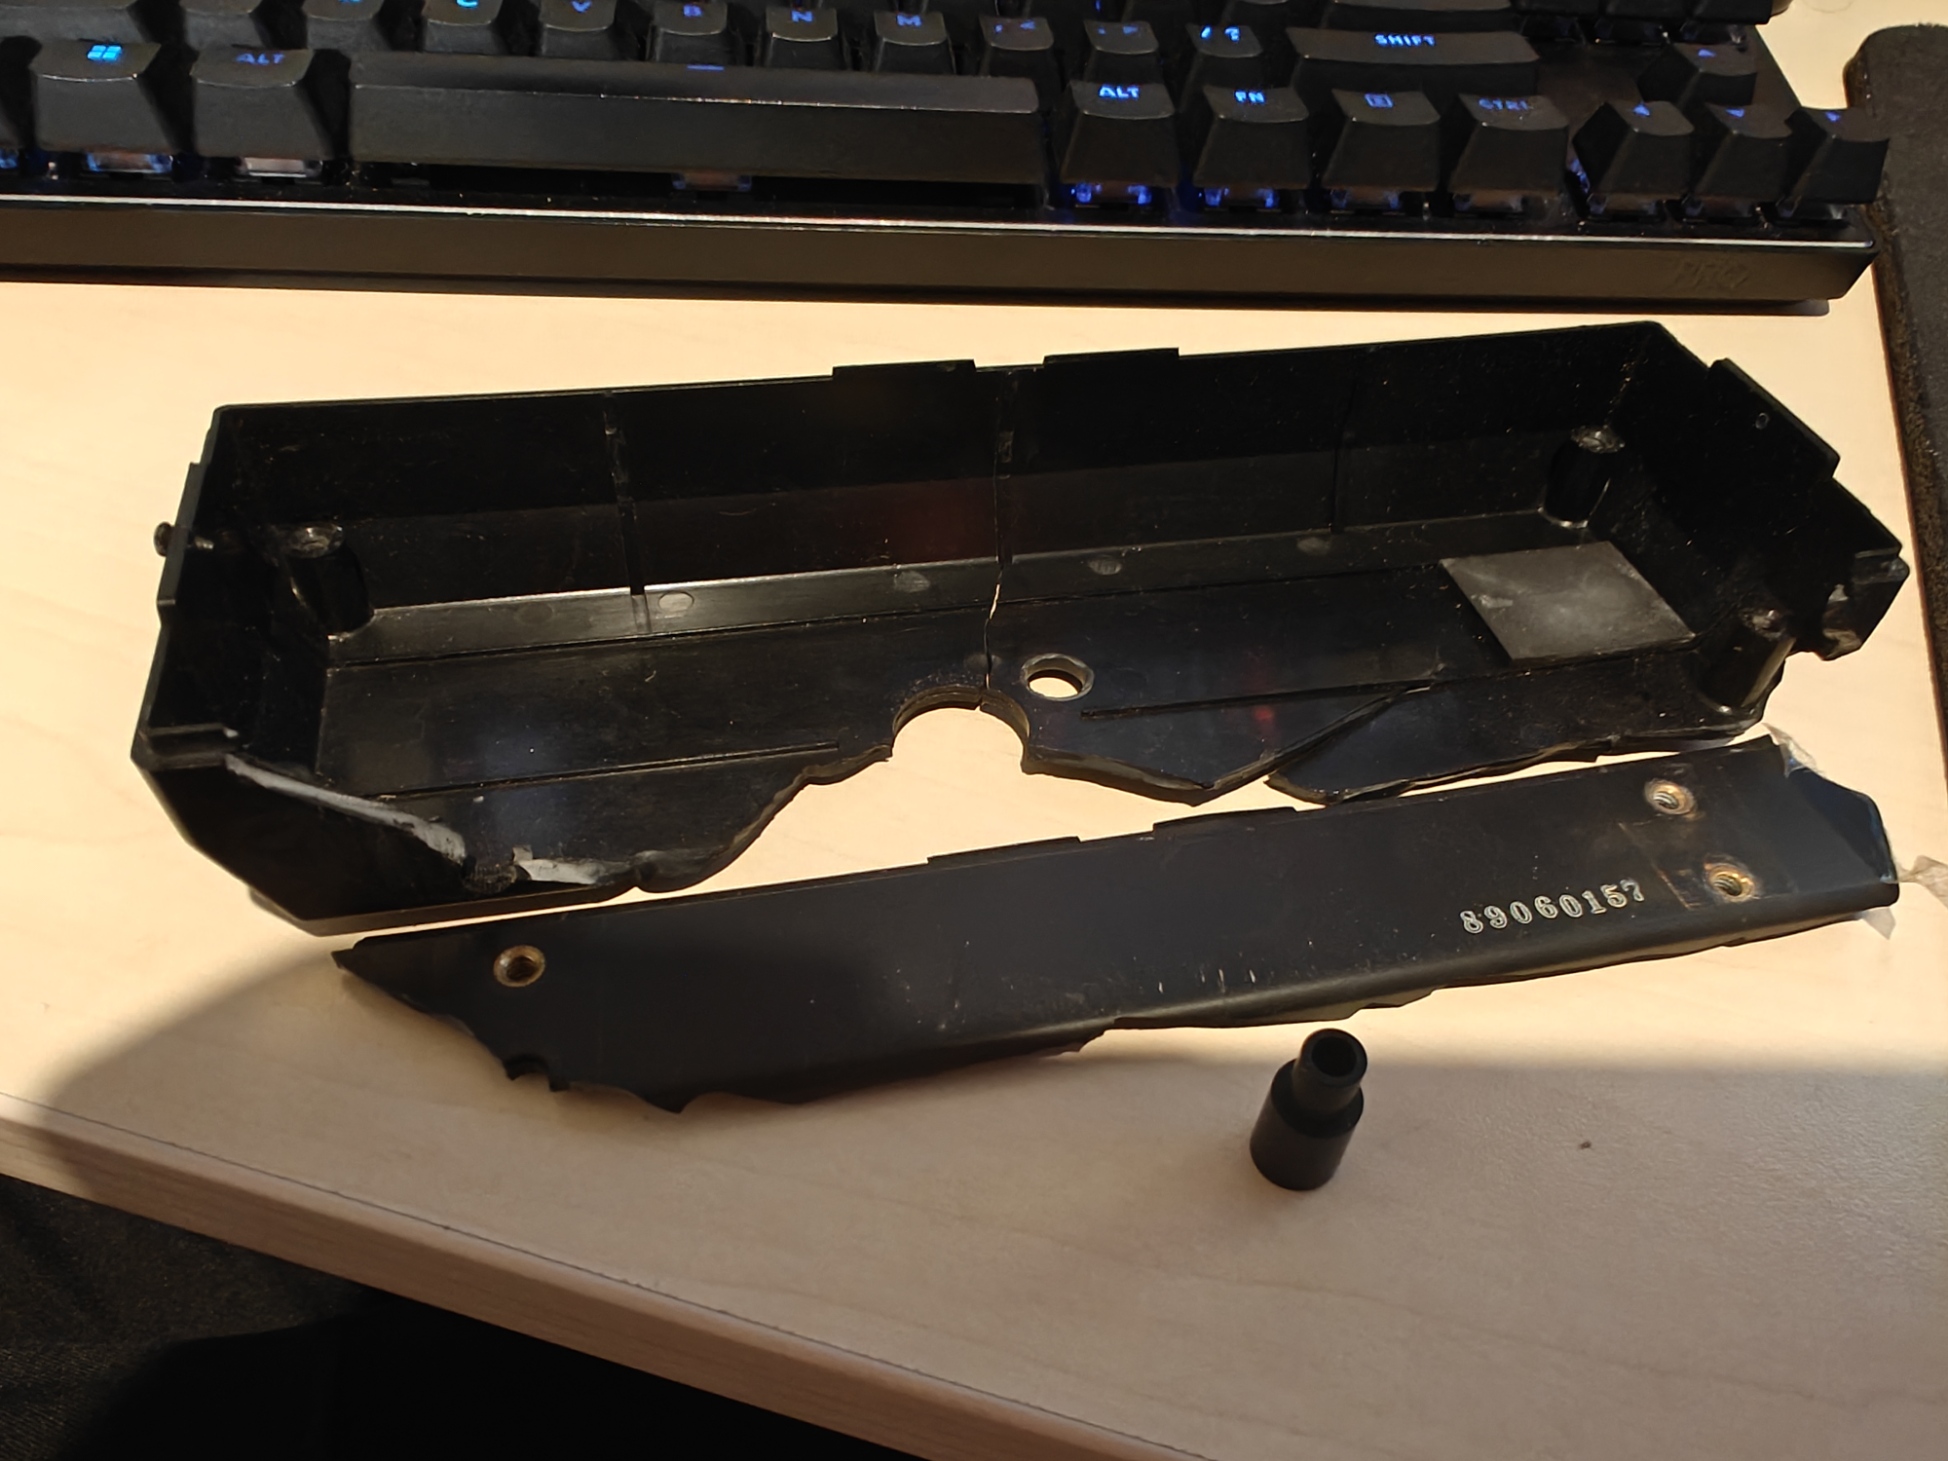
The original plastic housing was cracked and broken around the control panel, internal standoffs, cable entry, and mounting areas.

The electronics and front panel had to fit back into a usable enclosure, so the repair needed more than a cosmetic shell. The geometry had to line up with the PCB, cable relief, front controls, screw positions, and the metal mounting bracket.

Project scope

Reverse engineering, CAD modelling, three fast fit iterations, FDM printing, and final assembly support for a client-supplied sewing machine control panel.

Toyota and Aisin names are used only to identify the client equipment. Quality3Ds is not affiliated with Toyota or Aisin Seiki.

From broken housing to working fit

The project combined physical inspection, CAD rebuild, and quick printed iterations to recover a practical control panel enclosure.
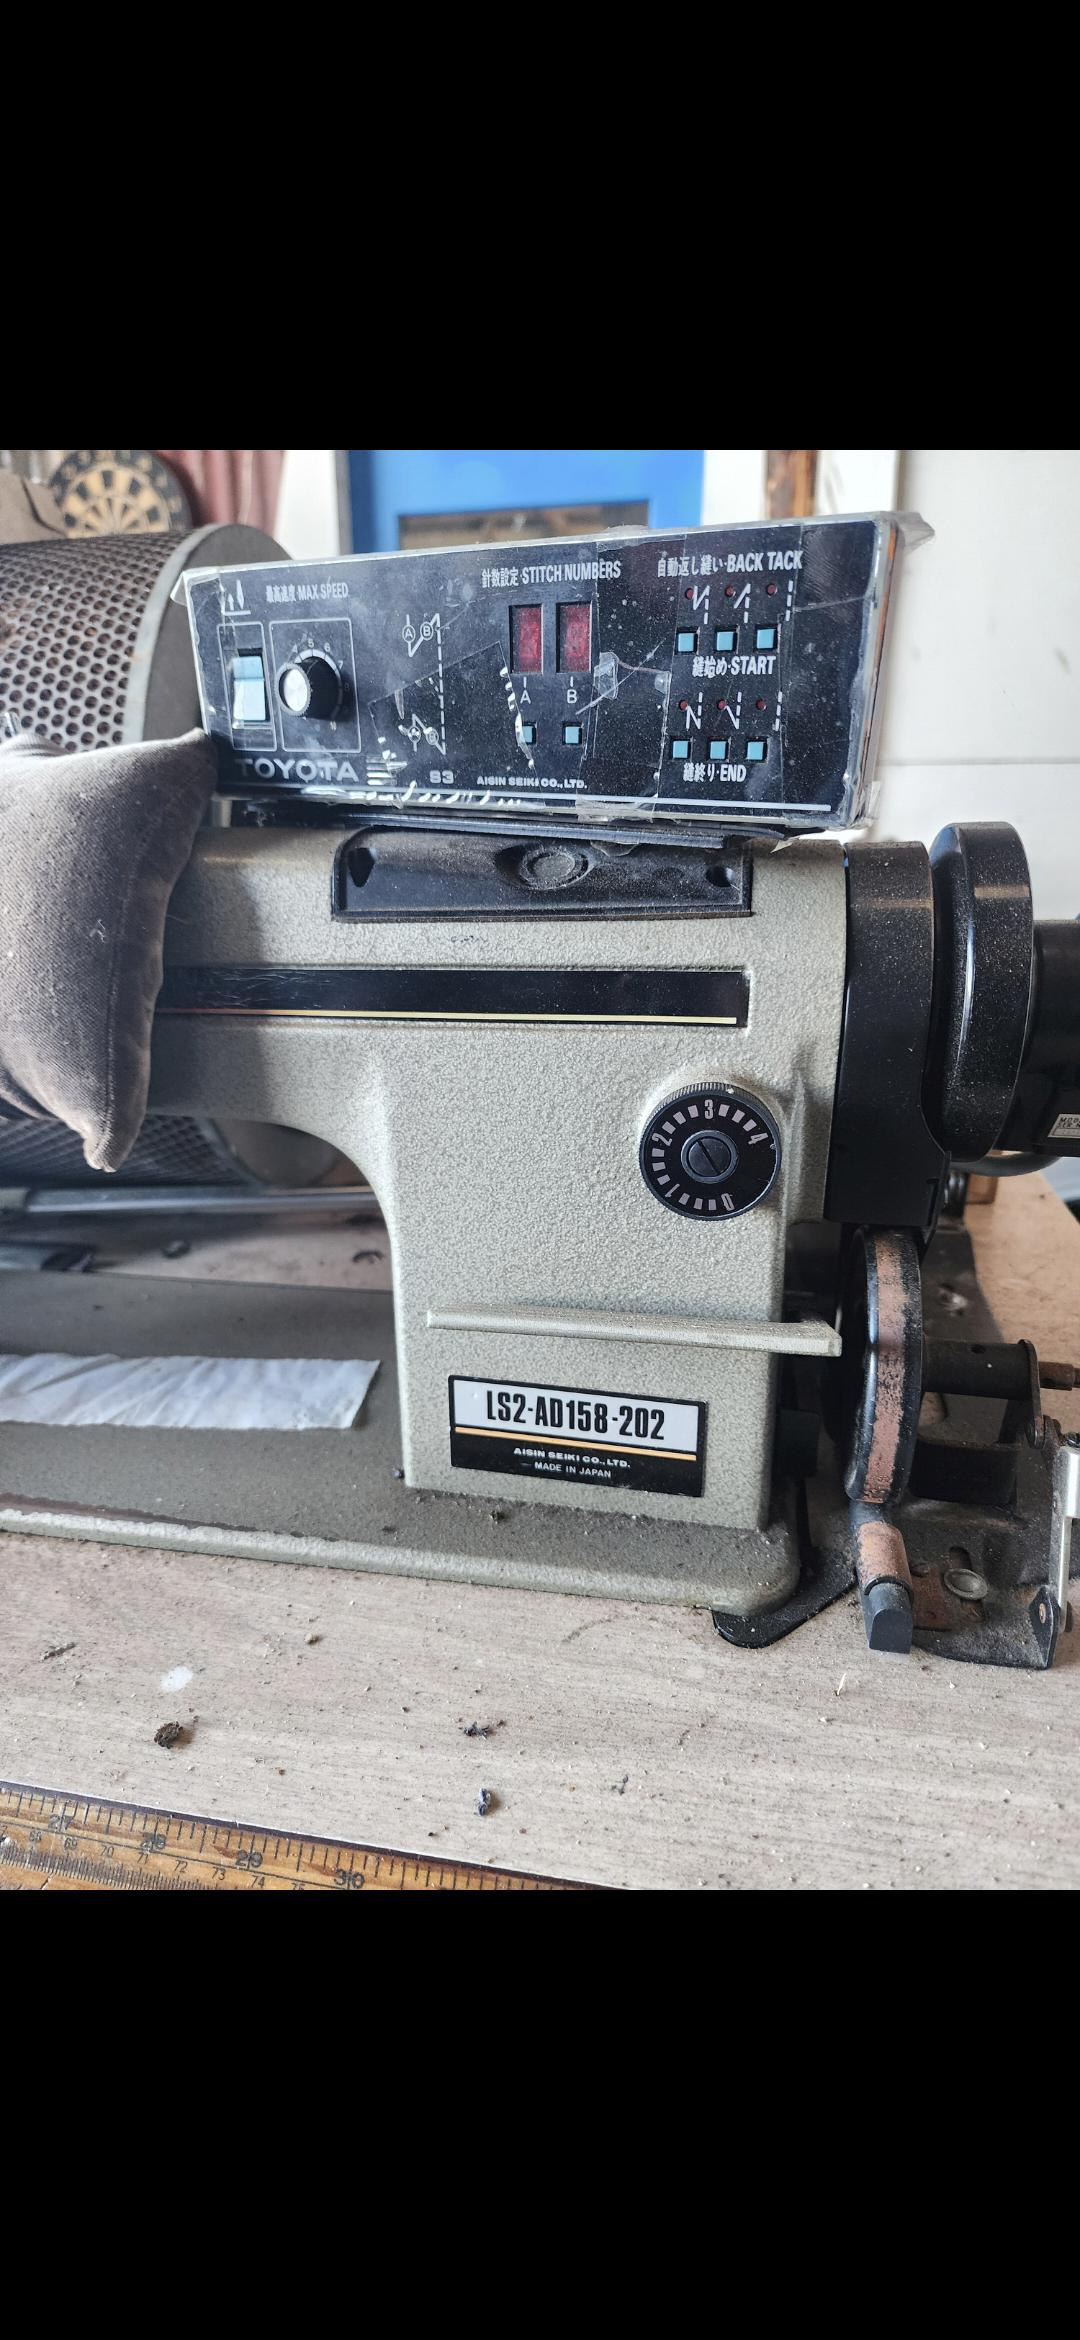
Toyota industrial sewing machine with the control panel mounted above the machine body.
Source machine and control panel The repaired housing was taken from this client-supplied industrial sewing machine control panel.
Severely broken Toyota LS2-AD320-202 sewing machine control panel plastic housing.
Broken housing reference The client-supplied enclosure was fractured, missing geometry, and unsuitable to reuse as-is.
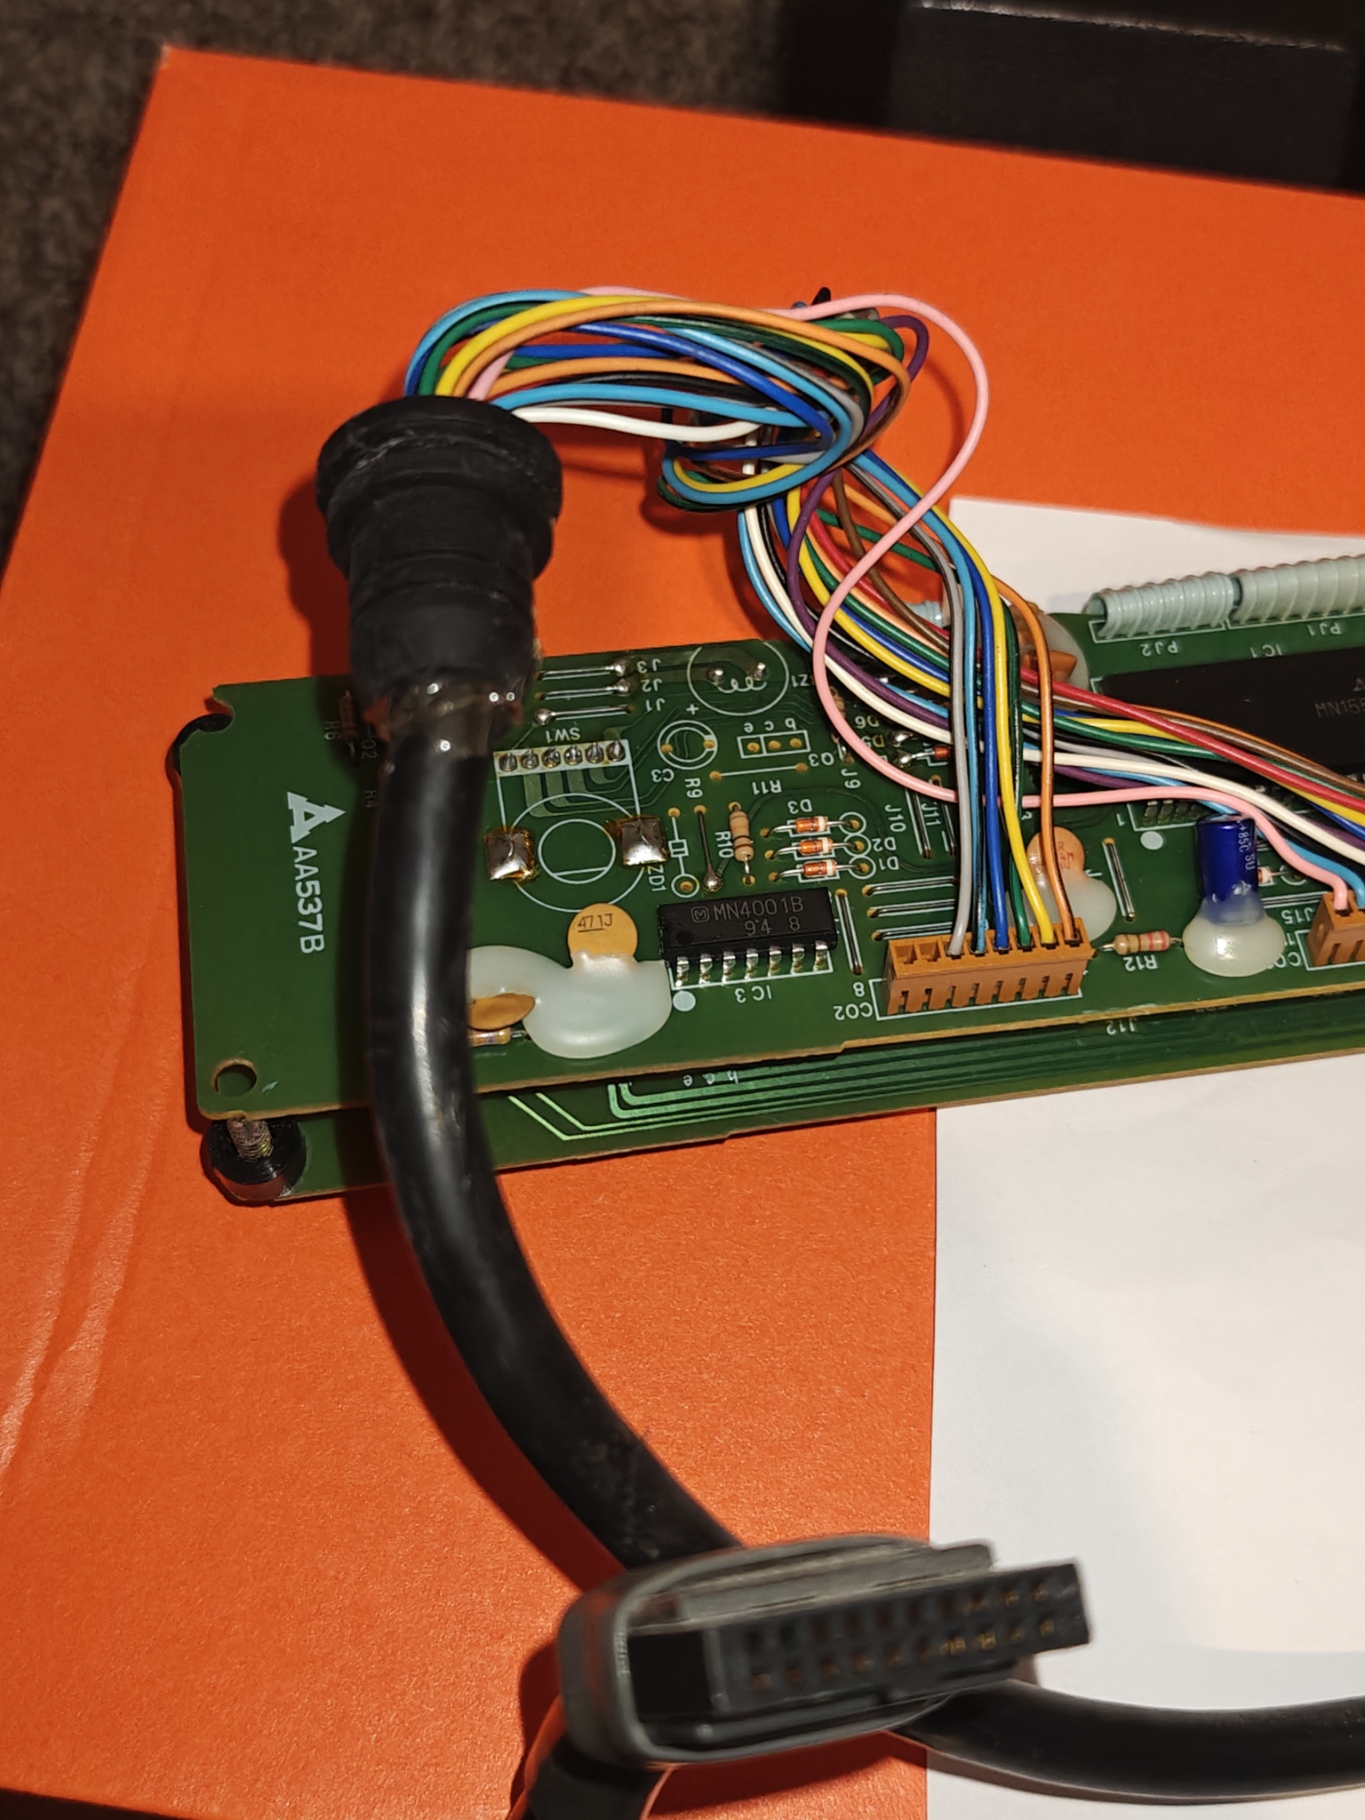
Original Toyota LS2-AD320-202 control panel PCB and cable assembly.
PCB and cable fit reference Internal clearances, cable entry, standoffs, and screw locations were checked against the electronics.
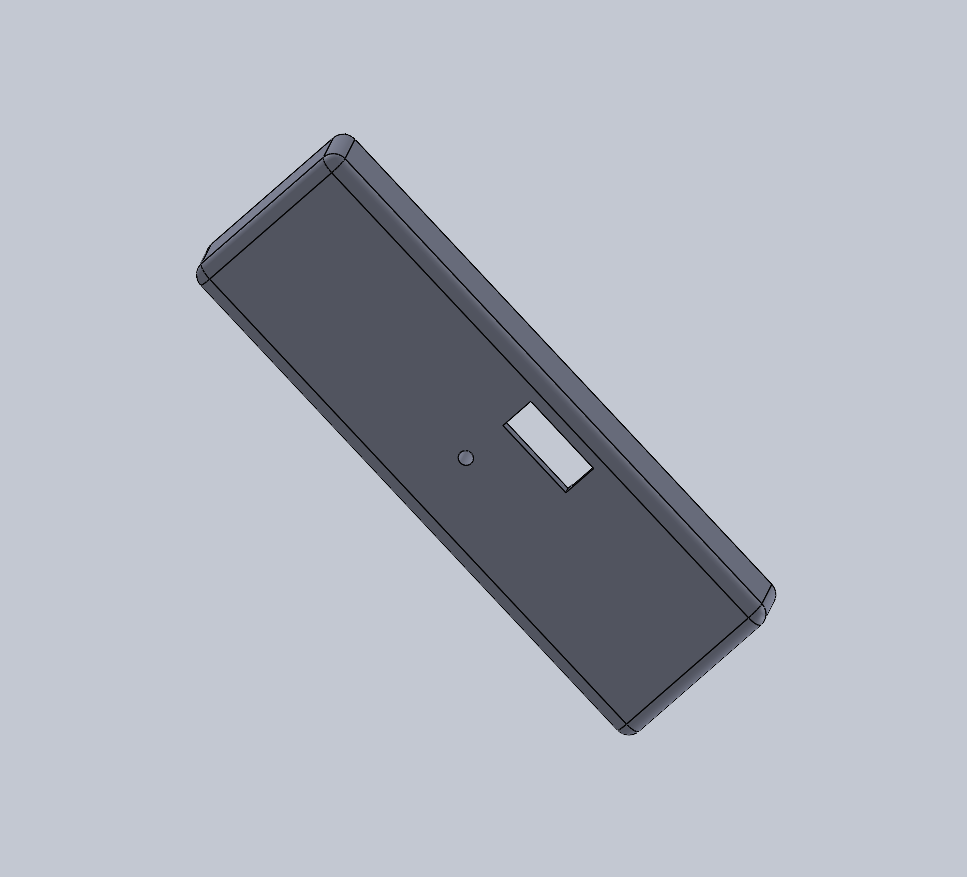
First CAD iteration of the Toyota LS2-AD320-202 control panel housing.
First CAD iteration The first model established the outer housing, rounded corners, cable opening, and basic mounting hole positions.
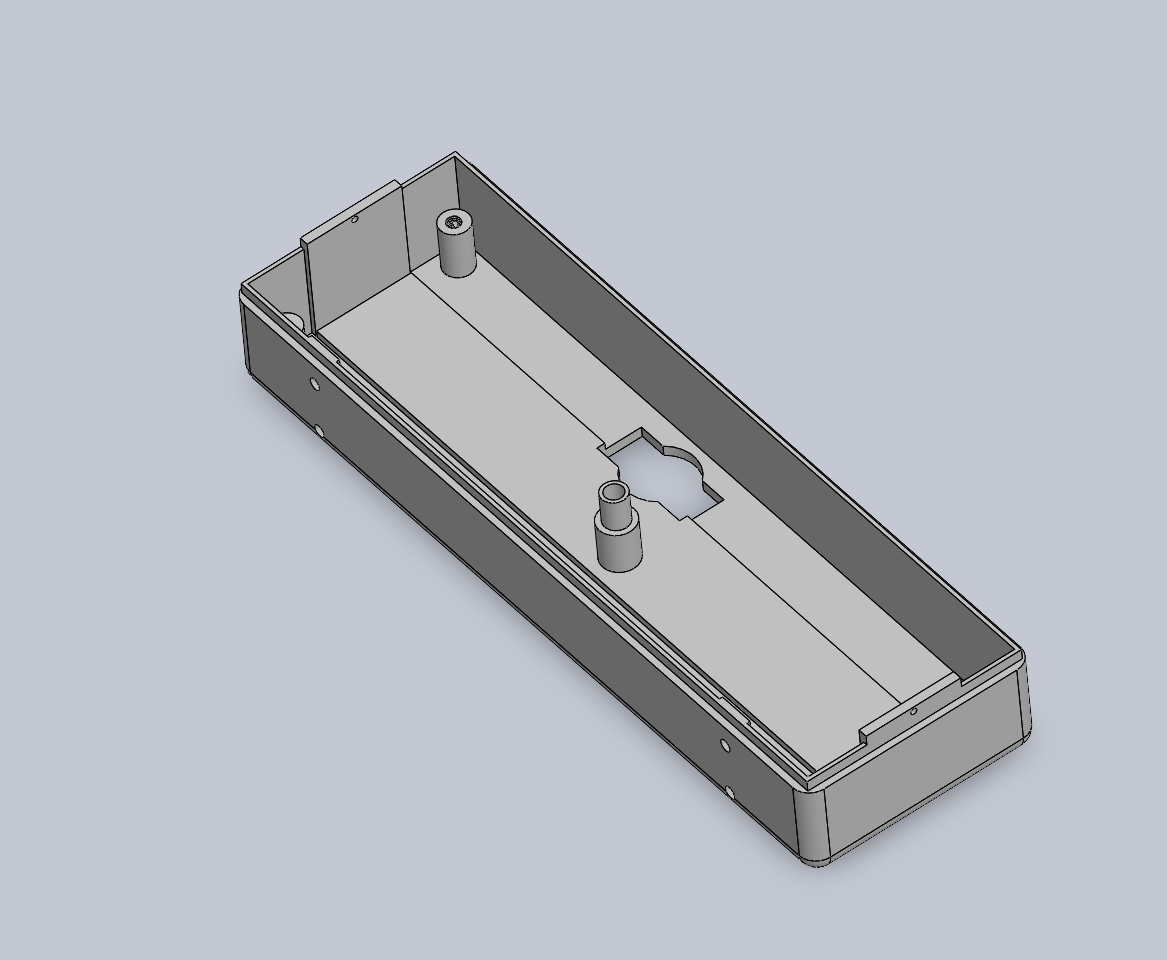
Final CAD preview of the Toyota LS2-AD320-202 control panel replacement housing.
Final CAD design The final design added the internal standoffs, supports, board cut-outs, cable relief, and bracket fit details.
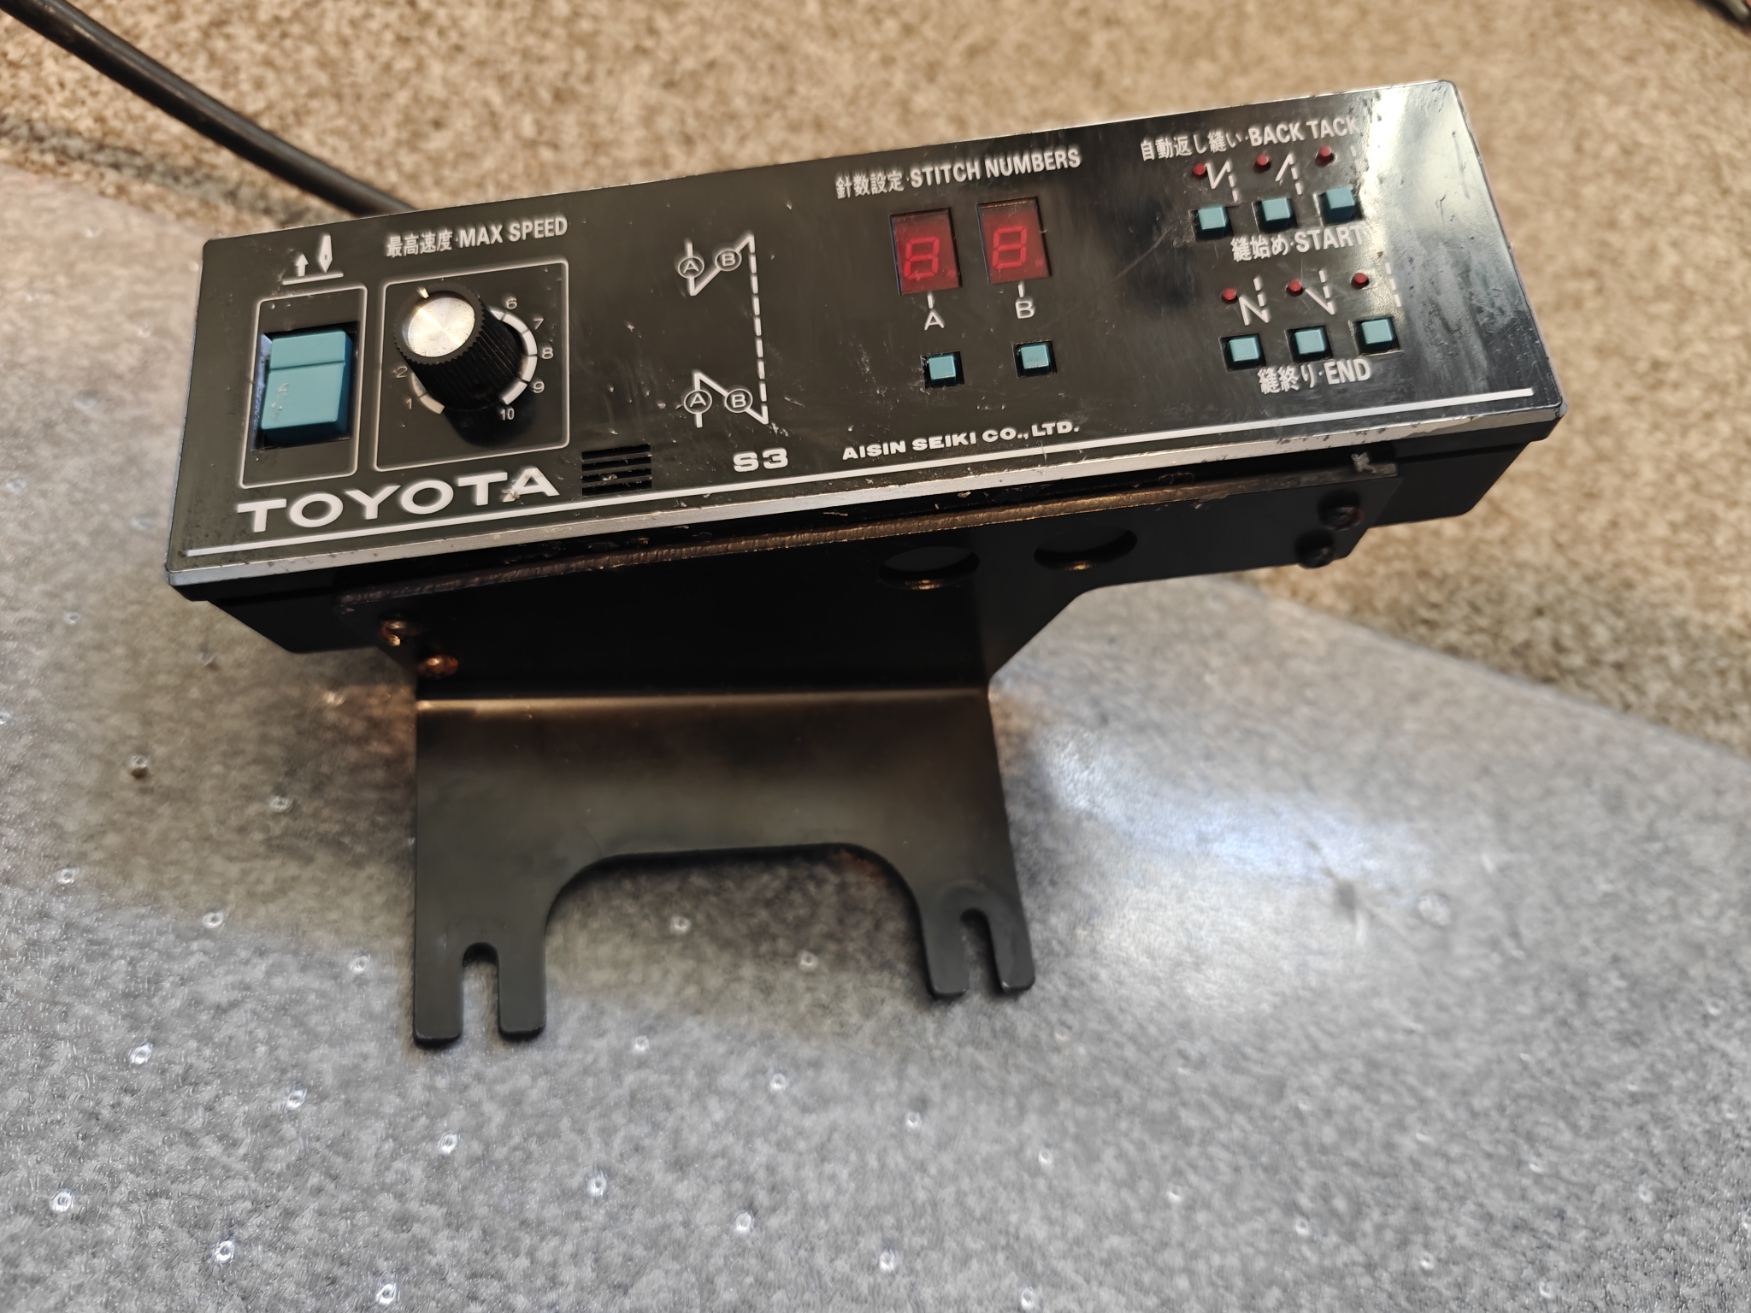
Toyota LS2-AD320-202 sewing machine control panel assembled with printed replacement housing.
Front panel assembled The original controls and display were fitted back into the repaired control panel housing.
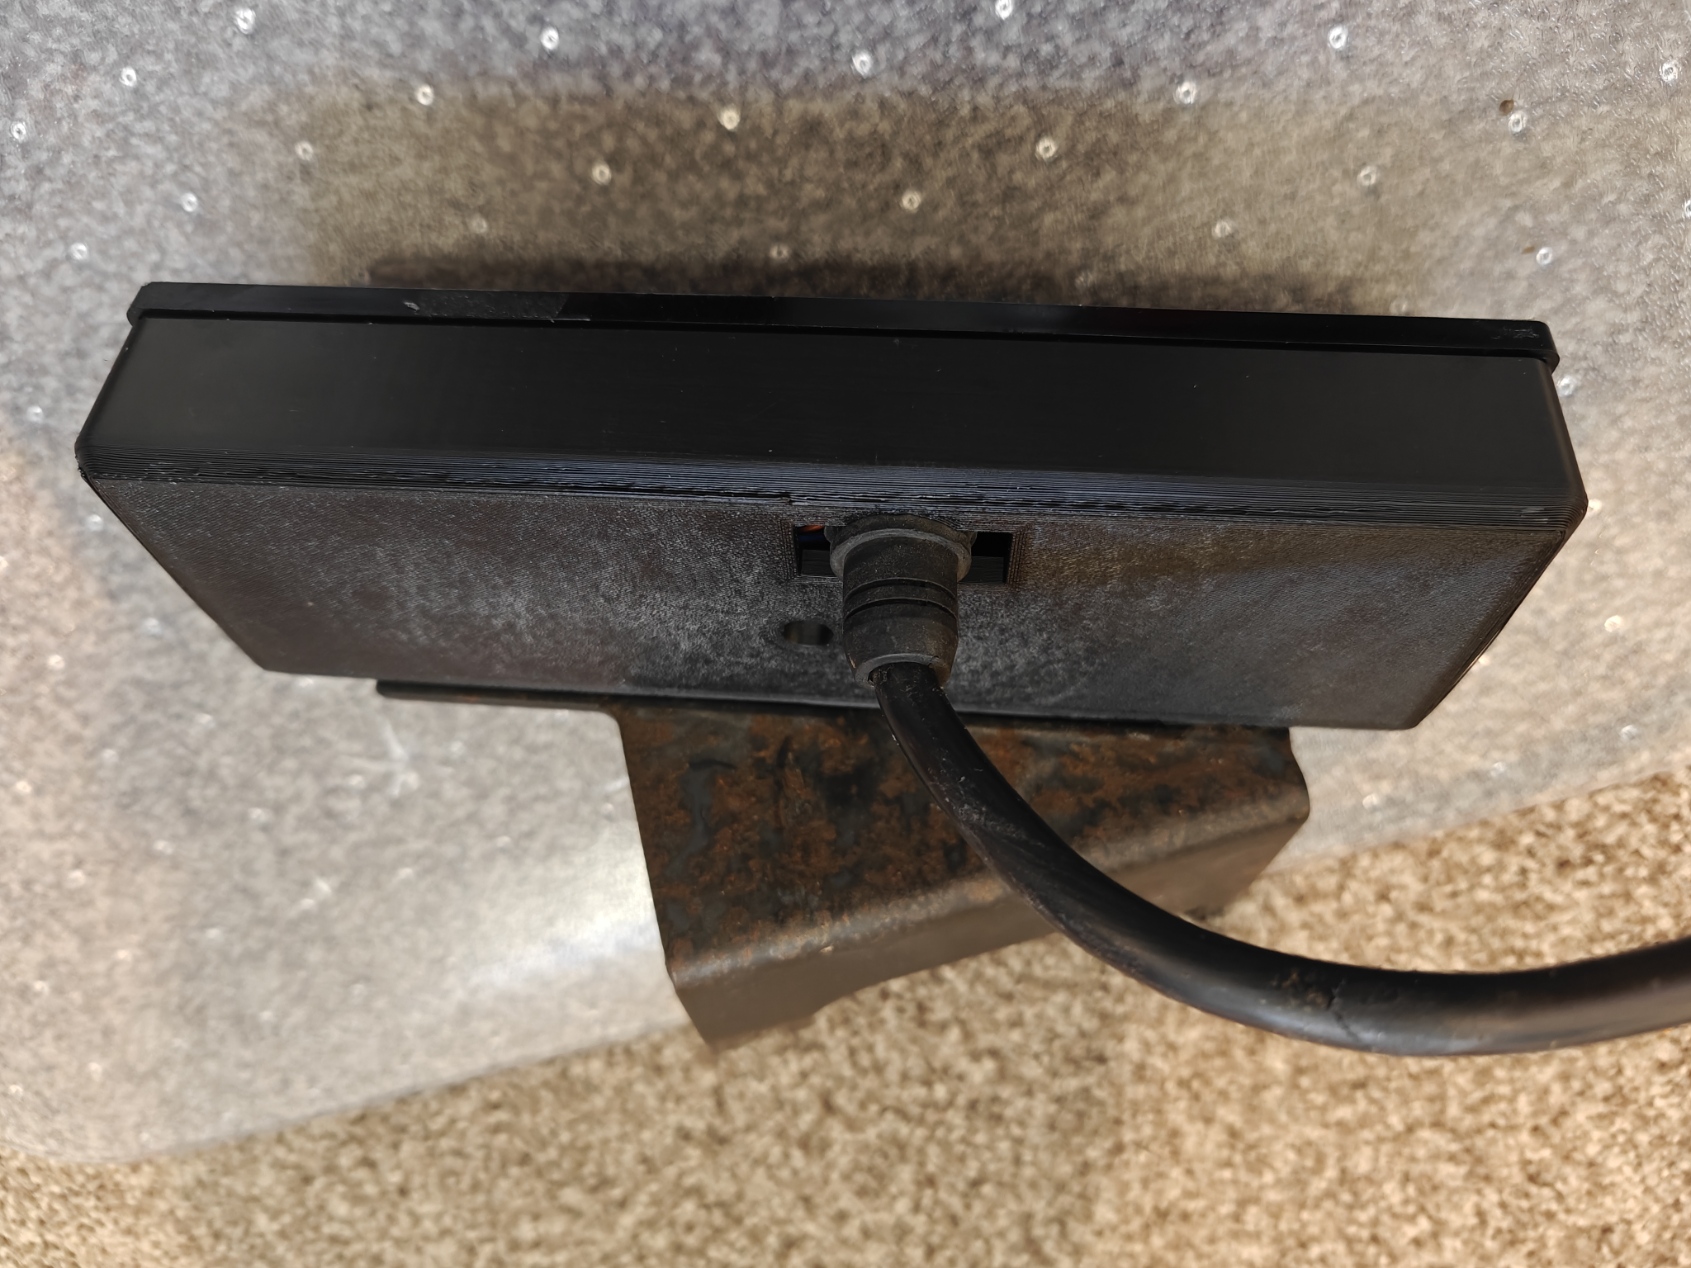
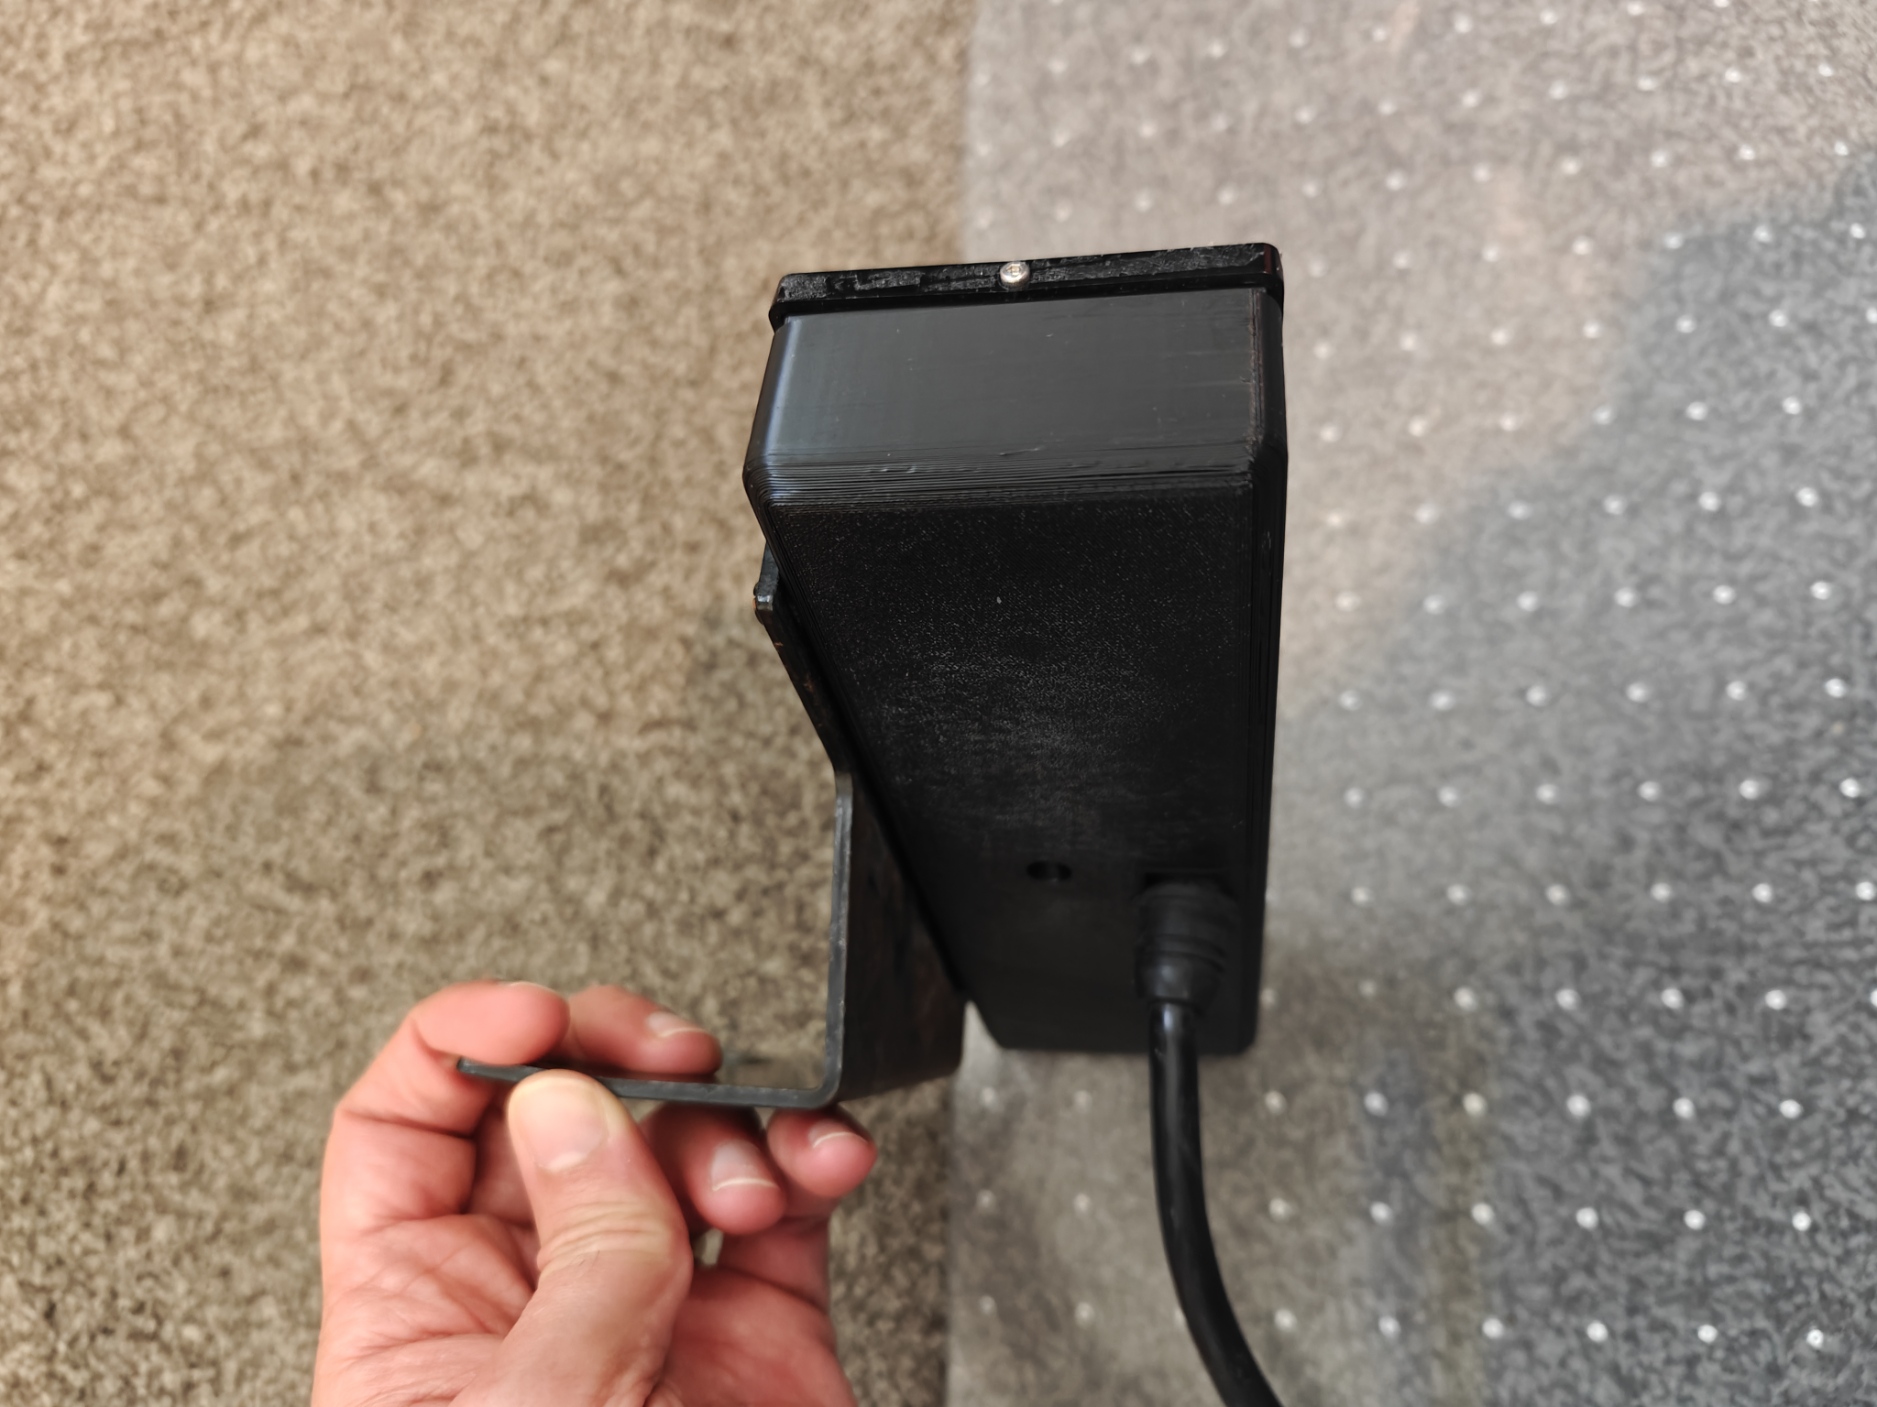
Rear view of Toyota LS2-AD320-202 control panel repaired housing installed with cable connected.
Rear fit and cable relief The printed housing supports the panel while allowing the original cable entry to sit correctly.
Side view of the Toyota LS2-AD320-202 control panel printed housing and mounting bracket.
Bracket fit check The repaired enclosure was checked against the metal mounting bracket and side geometry.

Why this kind of repair works

Useful when parts are unavailable

If the model cannot be found online and replacements are unavailable, the physical part can still guide a rebuild.

Fast fit iterations

Short CAD and print cycles let small clearances, screw positions, and internal supports be corrected quickly.

Electronics stay original

The repair focused on the housing and mechanical fit, while the client-supplied electronics and control panel were retained.